Power Automate: Expert Flow Techniques for 2026 Success
· Automation · 13 min read
By Juan Pedro Márquez
Moving Beyond Basic Flows
Advanced Power Automate work comes down to four disciplines: scope-based error handling, expression-language mastery, modular child flows, and proper ALM with managed solutions. Master those and your flows behave like production software instead of fragile prototypes — everything below shows exactly how.
Power Automate has matured from a simple workflow automation tool into a comprehensive platform capable of handling sophisticated enterprise scenarios. Yet many organizations still use it only for basic email notifications and approval workflows, leaving enormous value on the table.
In my experience working with enterprise customers, the difference between organizations that extract real ROI from Power Automate and those that view it as a toy comes down to understanding advanced patterns — error handling, performance optimization, security architecture, and proper ALM practices.
This guide covers the advanced techniques that separate production-grade Power Automate solutions from fragile prototypes. Whether you are a citizen developer looking to level up or a pro developer evaluating Power Automate for enterprise workflows, these patterns will help you build reliable, maintainable, and secure automations.
Cloud Flows vs. Desktop Flows vs. Business Process Flows
Before diving into advanced techniques, it is essential to understand which flow type fits each scenario.
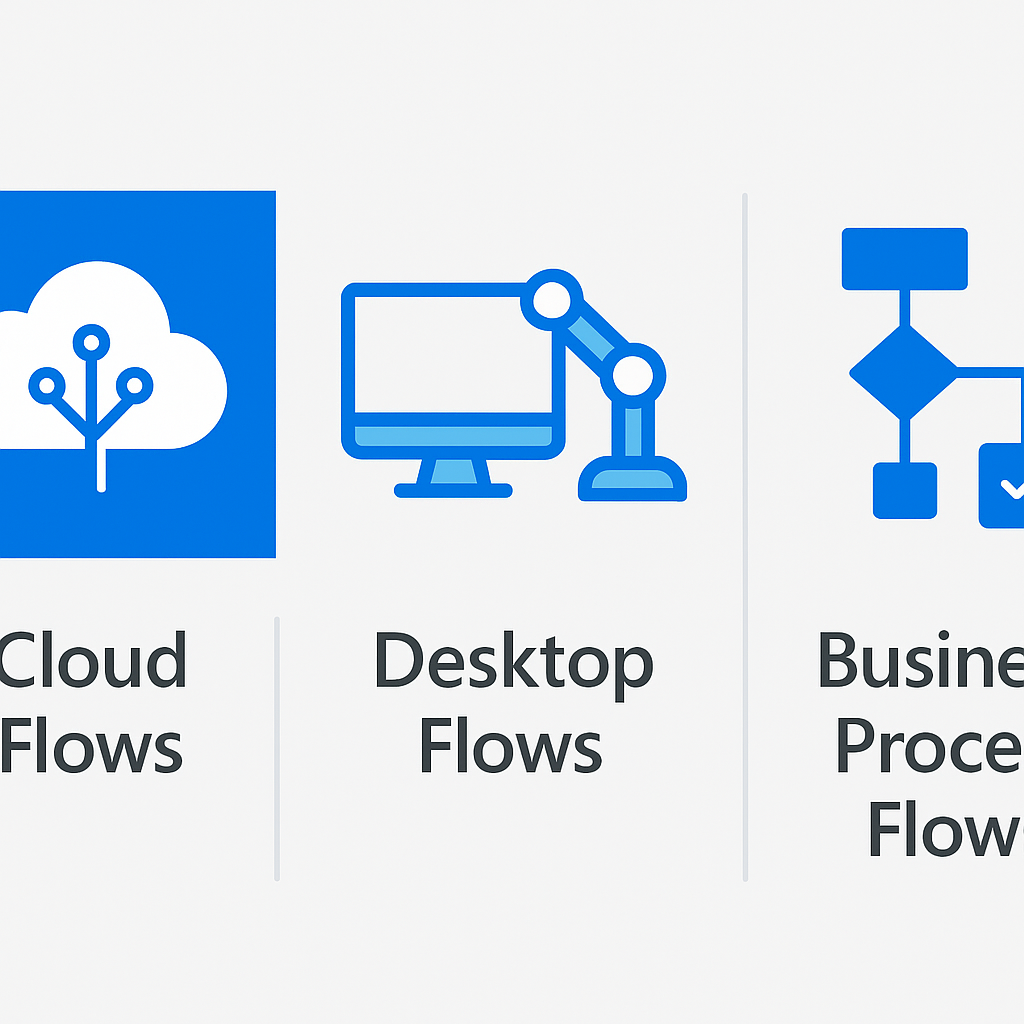
Cloud Flows
Cloud flows run in the Microsoft cloud and are triggered by events or schedules:
- Automated flows: Triggered by events (new email, file created, item modified)
- Instant flows: Triggered manually by users (button press, Power Apps)
- Scheduled flows: Run on a defined schedule (hourly, daily, weekly)
Best for: API integrations, data synchronization, notification workflows, approval processes
Desktop Flows (RPA)
Desktop flows automate legacy applications that lack APIs:
- Record and replay UI interactions on Windows applications
- Automate web browsers for legacy web apps
- Process structured data from PDFs and images using AI Builder
- Run attended (user-triggered) or unattended (scheduled) on dedicated machines
Best for: Legacy system integration, data entry automation, document processing
Business Process Flows
Business process flows guide users through multi-stage processes:
- Visual stage-gate workflows with required fields at each stage
- Cross-entity processes in Dataverse
- Branching logic for different process paths
Best for: Sales pipelines, case management, onboarding processes, any multi-step process that requires human guidance
For an overview of flow types, see Overview of the different types of flows.
Error Handling Patterns
Production flows must handle errors gracefully. The most common pattern uses scopes as try-catch-finally blocks.
Scope-Based Try-Catch
Scope: Try
├── Action 1
├── Action 2
└── Action 3

Scope: Catch (Configure run after: "has failed", "has timed out")
├── Log error details
├── Send notification
└── Create incident record

Scope: Finally (Configure run after: "is successful", "has failed", "is skipped", "has timed out")
├── Cleanup temporary data
└── Update status tracking
Implementation steps:
- Wrap your main logic in a Scope named "Try"
- Add a second Scope named "Catch" — configure its Run After settings to run only when the Try scope has failed or timed out
- In the Catch scope, use the
result()function to access error details from the Try scope:
result('Try')[0]['error']['message']- Optionally add a Scope named "Finally" configured to run after all outcomes
Retry Policies
Configure retry policies on HTTP actions and connectors that interact with external systems:
- Fixed interval: Retry every N seconds for up to N attempts
- Exponential interval: Progressively increase delay between retries
- None: Disable retries for idempotency-sensitive operations
Best practice: Set retry policies on HTTP actions to exponential with a maximum of 4 retries. This handles transient failures (network blips, 429 throttling) without overwhelming target systems.
For error handling details, see Handle errors and exceptions.
Expression Language Deep Dive
Power Automate's expression language is far more powerful than most users realize. Mastering it unlocks significant capabilities.
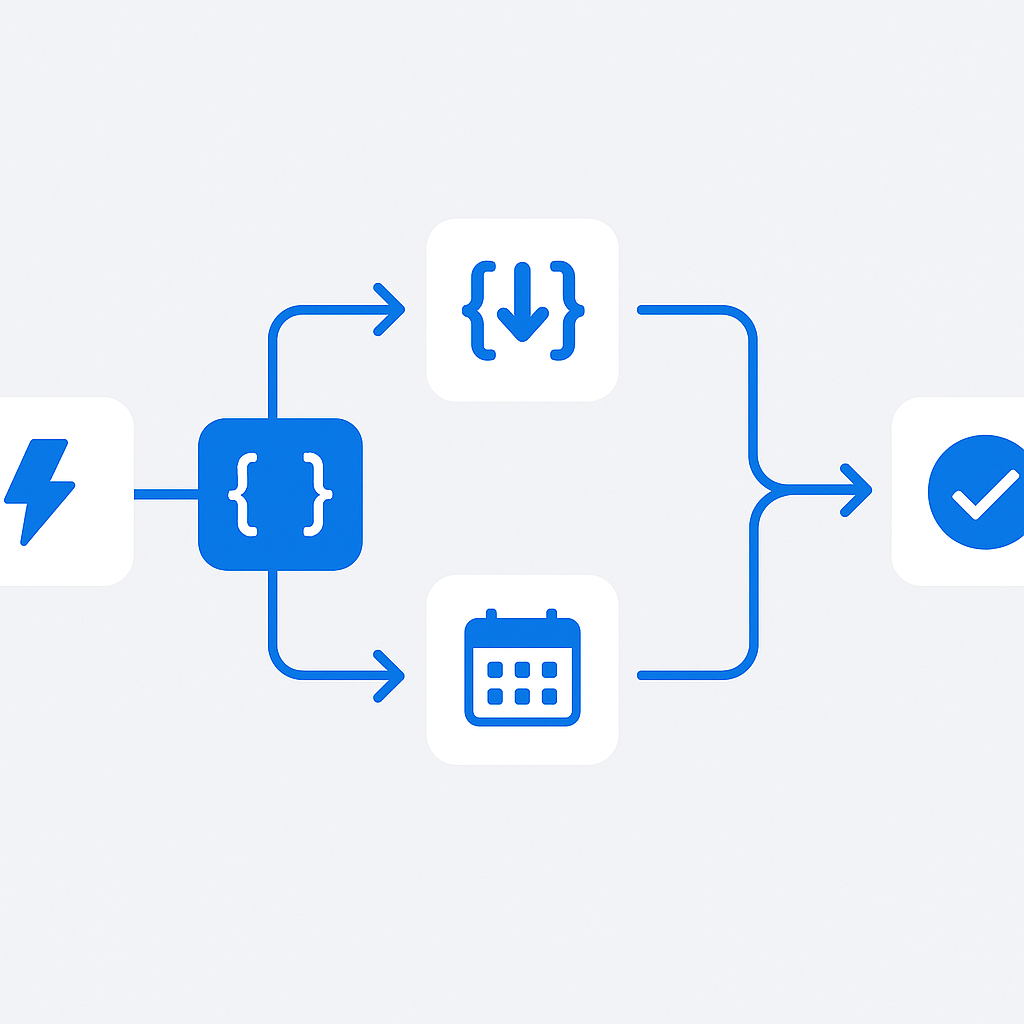
Essential Functions
String manipulation:
// Extract filename from path
last(split(triggerBody()?['filepath'], '/'))

// Convert to title case
concat(toUpper(substring(variables('name'), 0, 1)),
       substring(variables('name'), 1))

// Null-safe string access
coalesce(triggerBody()?['optionalField'], 'default value')
Date and time:
// Business days calculation (skip weekends)
addDays(utcNow(), 5)

// Format dates for different systems
formatDateTime(utcNow(), 'yyyy-MM-ddTHH:mm:ssZ')

// Convert timezone
convertTimeZone(utcNow(), 'UTC', 'Central European Standard Time')
Array operations:
// Filter array to specific items
@{filter(body('Get_items')?['value'], 'Status', 'Active')}

// Get first/last item safely
first(body('Get_items')?['value'])

// Count items matching criteria
length(filter(body('Get_items')?['value'], 'Priority', 'High'))
Logical operations:
// Conditional value assignment
if(equals(triggerBody()?['priority'], 'High'), 'Urgent', 'Normal')

// Multiple condition checking
and(greater(variables('amount'), 1000), equals(variables('approved'), true))
For the complete expression reference, see Reference guide to workflow expression functions.
Working with Complex JSON
Many advanced integrations require parsing and transforming JSON payloads.
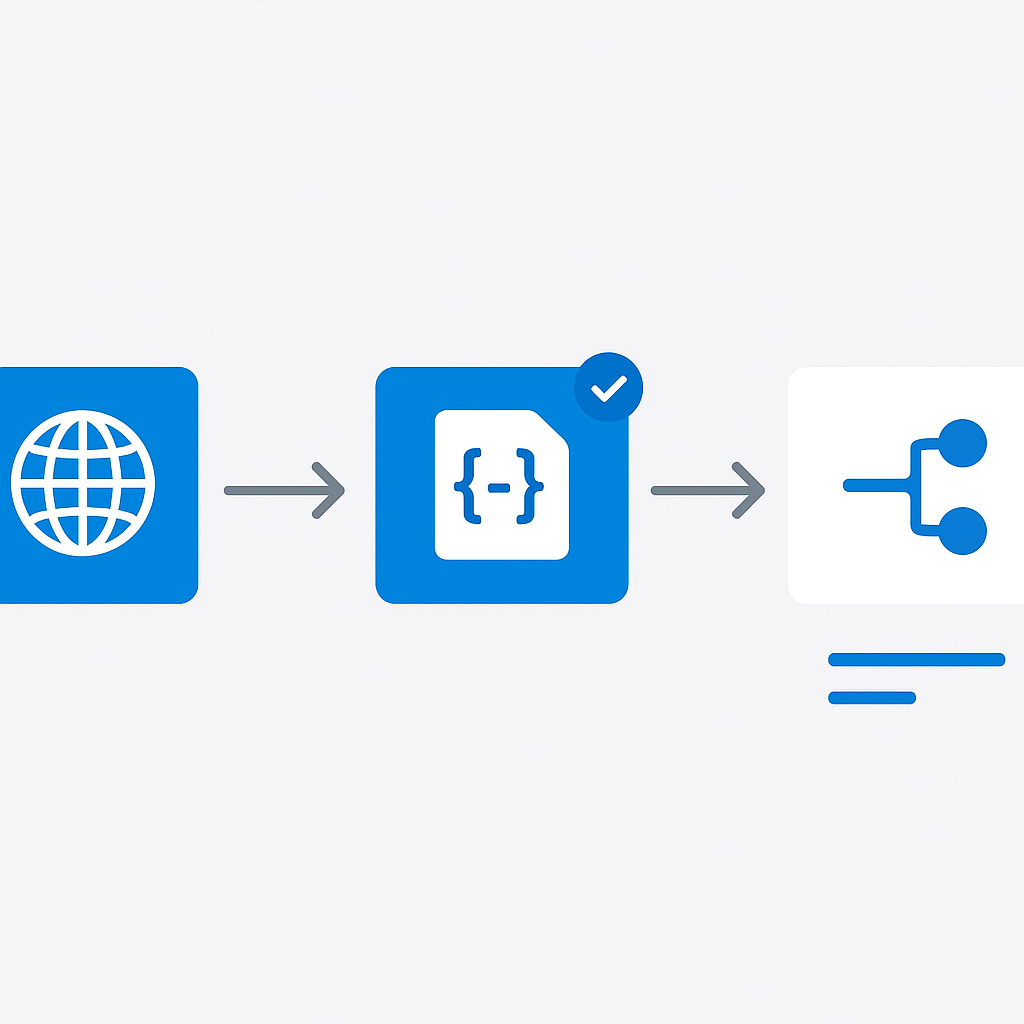
Parse JSON Action
Always use Parse JSON after HTTP requests or webhook triggers to get strongly-typed dynamic content:
- Run the flow once to capture a sample response
- Use the sample payload to auto-generate the JSON schema
- Add the Parse JSON action and reference its outputs in subsequent steps
Pro tip: When dealing with inconsistent API responses, make properties optional in your schema by removing them from the required array. This prevents flow failures when optional fields are missing.
Select Action for Data Transformation
The Select action is incredibly powerful for reshaping data:
// Transform an array of complex objects into a simplified format
// Input: array of user objects from Graph API
// Map:
{
  "FullName": "@{item()?['displayName']}",
  "Email": "@{item()?['mail']}",
  "Department": "@{coalesce(item()?['department'], 'Unassigned')}"
}
Compose for Intermediate Calculations
Use Compose actions to:
- Build complex JSON objects step by step
- Debug expressions by isolating them
- Create reusable data structures
// Build a complex API request body
{
  "to": "@{variables('recipientEmail')}",
  "subject": "@{concat('Report: ', formatDateTime(utcNow(), 'yyyy-MM-dd'))}",
  "metadata": {
    "source": "PowerAutomate",
    "flowRunId": "@{workflow().run.name}",
    "timestamp": "@{utcNow()}"
  }
}
HTTP Connector and Custom API Integration
The HTTP connector transforms Power Automate into a universal integration platform.
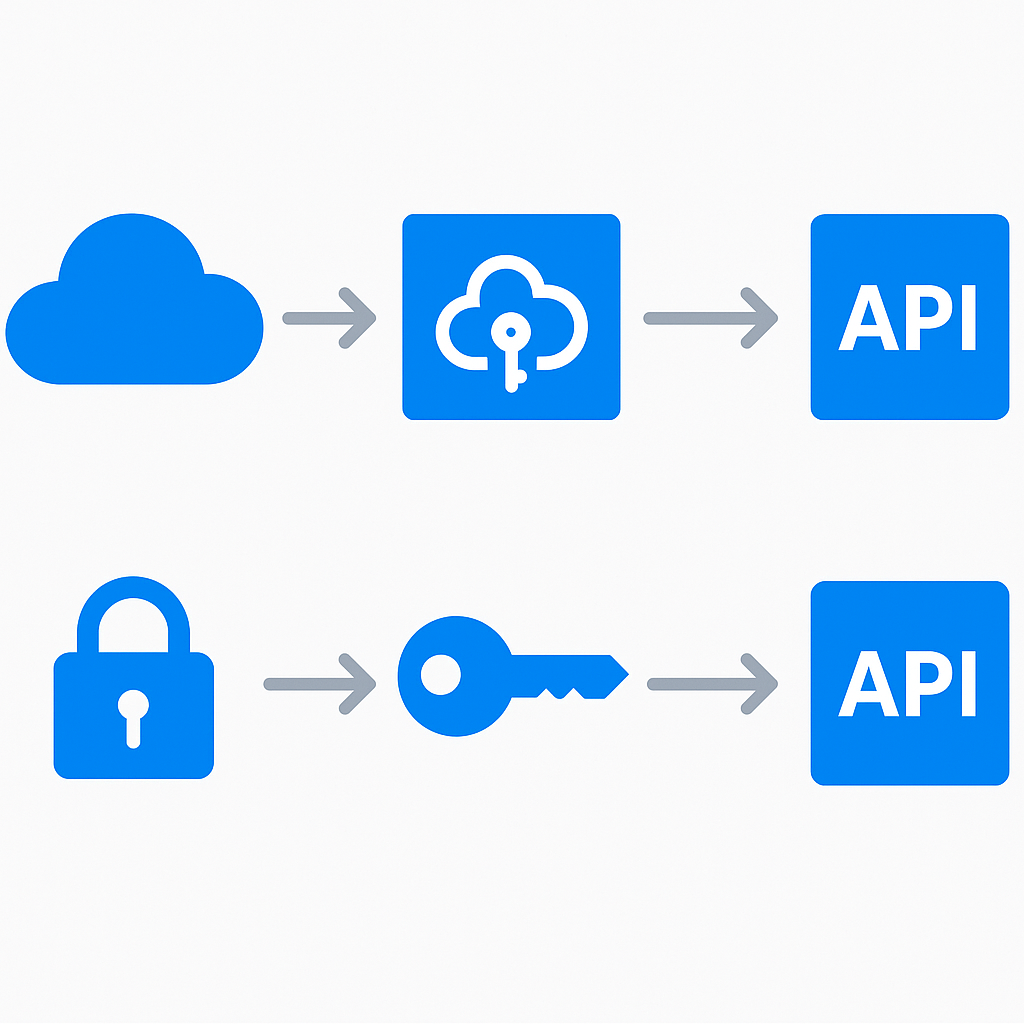
Authentication Patterns
OAuth 2.0 (recommended for Microsoft APIs):
- Use the built-in HTTP with Azure AD connector for Microsoft Graph calls
- Configure app registrations in Entra ID with appropriate API permissions
- Use client credentials flow for unattended automation
API Key:
- Store API keys in environment variables, not hardcoded in flow definitions
- Use the Custom Connector pattern for repeated API integrations
Certificate-based:
- For high-security integrations, use certificate authentication
- Store certificates in Azure Key Vault and reference them via the Key Vault connector
Pagination Handling
Many APIs return paginated results. Handle this with a Do Until loop:
Initialize variable: allResults (Array)
Initialize variable: nextLink (String) = initial URL

Do Until: empty(variables('nextLink'))
├── HTTP GET: variables('nextLink')
├── Append to array: union(variables('allResults'), body('HTTP')?['value'])
└── Set variable: nextLink = body('HTTP')?['@odata.nextLink']
For the HTTP connector documentation, see HTTP connector reference.
Child Flows and Solution-Aware Flows
As your automation portfolio grows, modularity becomes essential.
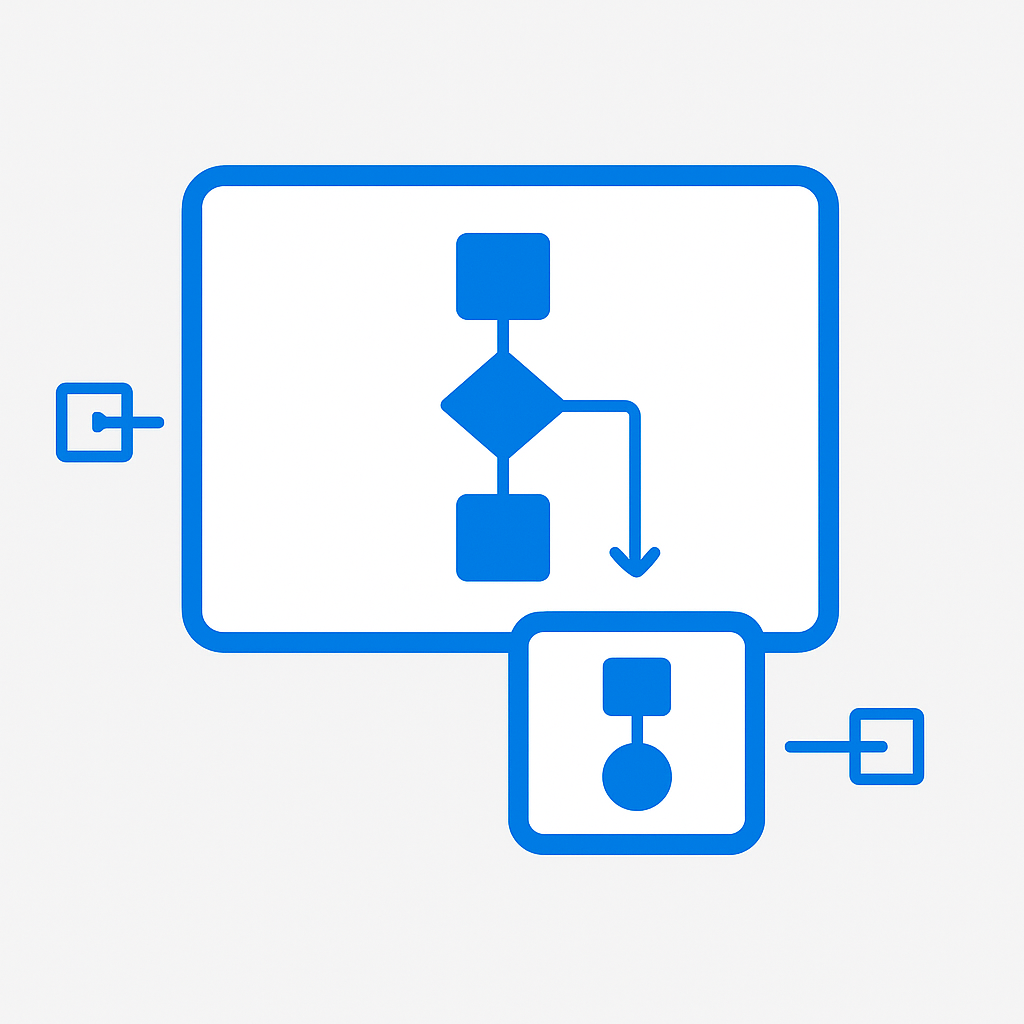
Child Flows
Child flows enable code reuse and separation of concerns:
- Create solution-aware child flows with defined input/output parameters
- Call child flows from parent flows using the Run a child flow action
- Implement common patterns (error logging, notification sending, data validation) as reusable child flows
Design principles:
- Each child flow should do one thing well
- Define clear input/output contracts
- Handle errors within the child flow — do not rely on the parent for error handling
- Keep child flows in the same solution as parent flows for lifecycle management
Solution Architecture
Organize flows into solutions for proper ALM:
Solution: HR-Automation
├── Flow: Employee Onboarding (parent)
├── Flow: Send Welcome Email (child)
├── Flow: Create Accounts (child)
├── Flow: Order Equipment (child)
├── Connection References: Office365, SharePoint, ServiceNow
├── Environment Variables: ServiceNowUrl, ApprovalGroup, WelcomeTemplateId
└── Custom Connector: HR System API
For solution-aware flows, see Overview of solution-aware flows.
Performance Optimization
Slow flows frustrate users and consume unnecessary API calls. Optimize aggressively.
Concurrency Control
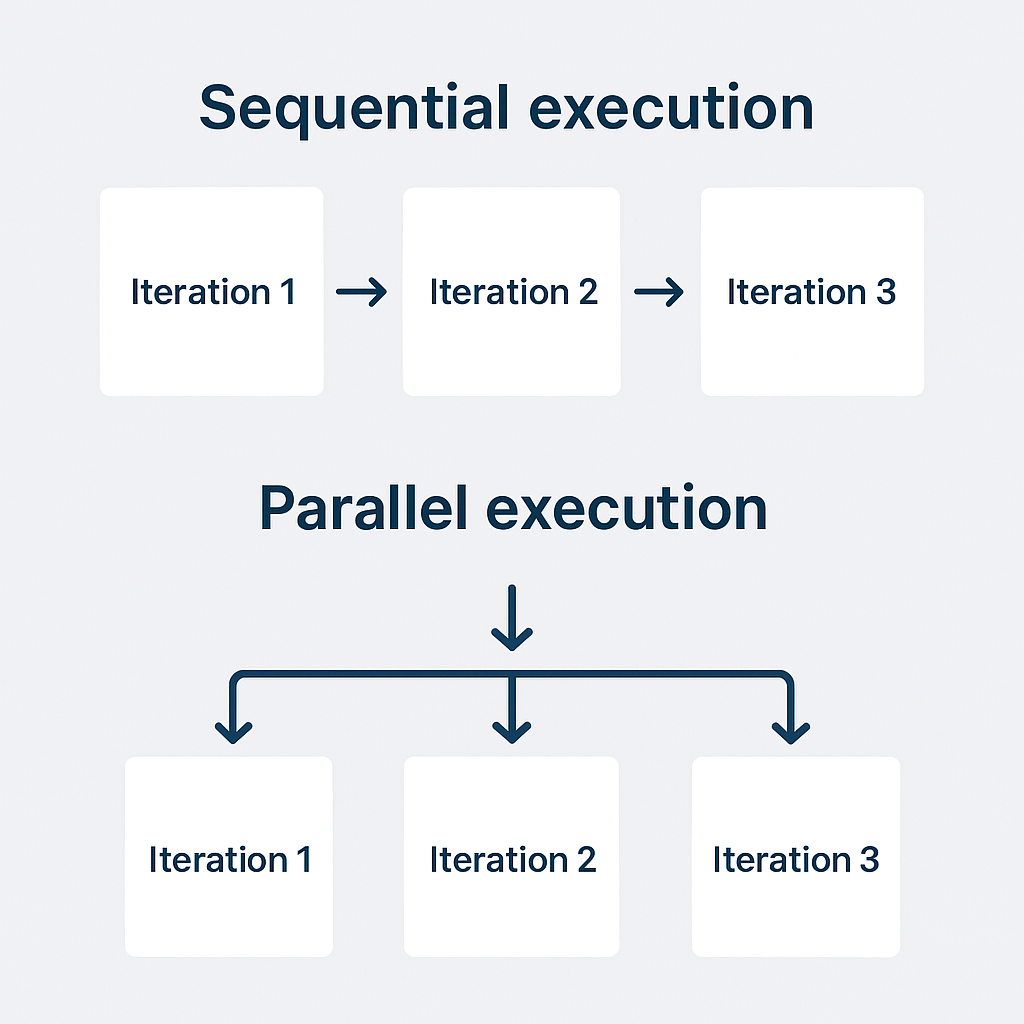
Enable concurrency on Apply to each loops when iterations are independent:
- Default: sequential execution (1 at a time)
- With concurrency: up to 50 parallel iterations
- Caution: Only enable concurrency when iterations do not depend on each other's results and when the target system can handle parallel requests
Minimize API Calls
- Use OData filter queries in SharePoint and Dataverse connectors to retrieve only needed items
- Use Select columns to limit the fields returned
- Batch operations where possible (Graph API batch endpoint supports up to 20 requests per batch)
- Cache frequently accessed data in variables instead of re-querying
Trigger Optimization
- Use trigger conditions to prevent the flow from running unnecessarily:
@equals(triggerBody()?['Status'], 'Approved')- Configure trigger filters on SharePoint triggers to limit which items trigger the flow
- Use Spliton for triggers that return arrays to process items in parallel
Reduce Run Duration
- Remove unnecessary actions and simplify expressions
- Use Terminate action to exit early when conditions are not met
- Implement parallel branches for independent action groups
- Set appropriate timeout values on long-running actions
Security Best Practices
Security in Power Automate requires attention at multiple layers.
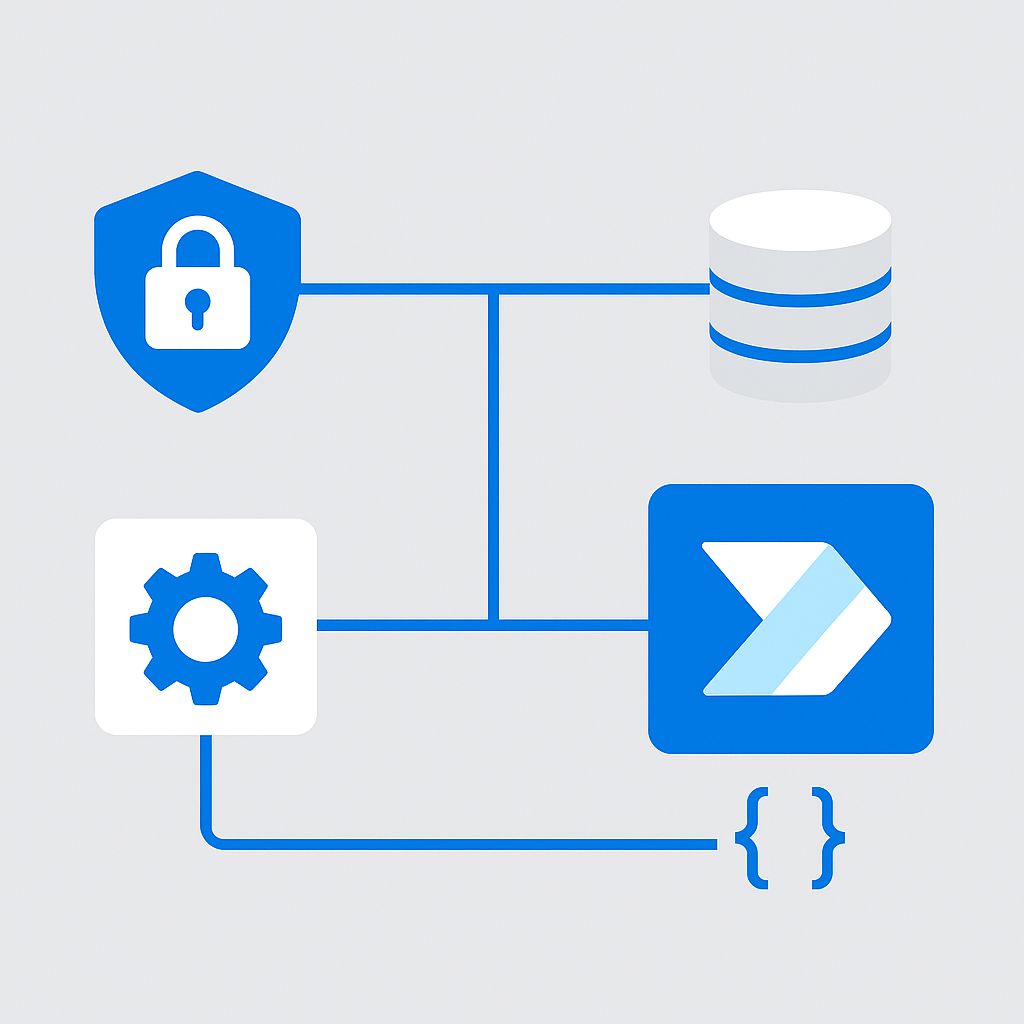
Connection Management
- Use connection references in solutions instead of personal connections
- Create service accounts for production flows with appropriate licenses
- Implement connection reference delegation so flows run under service account context
- Rotate credentials and monitor connection health regularly
Environment Variables
Never hardcode sensitive values in flow definitions:
Environment Variables:
├── APIBaseUrl: "https://api.contoso.com/v2"
├── NotificationEmail: "[email protected]"
├── MaxRetryCount: 3
└── ServiceAccountId: (reference, not in source control)
Environment variables support different values per environment (dev, test, prod), enabling clean promotion across environments.
Data Loss Prevention (DLP) Policies
DLP policies for Power Platform control which connectors can be used together:
- Business group: Connectors for business data (SharePoint, Dataverse, Office 365)
- Non-business group: Connectors for non-business data (Twitter, personal Gmail)
- Blocked group: Connectors that should not be used at all
Key principle: Connectors in different groups cannot be used in the same flow. This prevents accidental data leakage (e.g., a flow that sends SharePoint data to a personal Dropbox).
For DLP policy configuration, see Data loss prevention policies.
ALM and DevOps for Power Automate
Mature organizations treat Power Automate solutions like software — with version control, automated testing, and deployment pipelines.
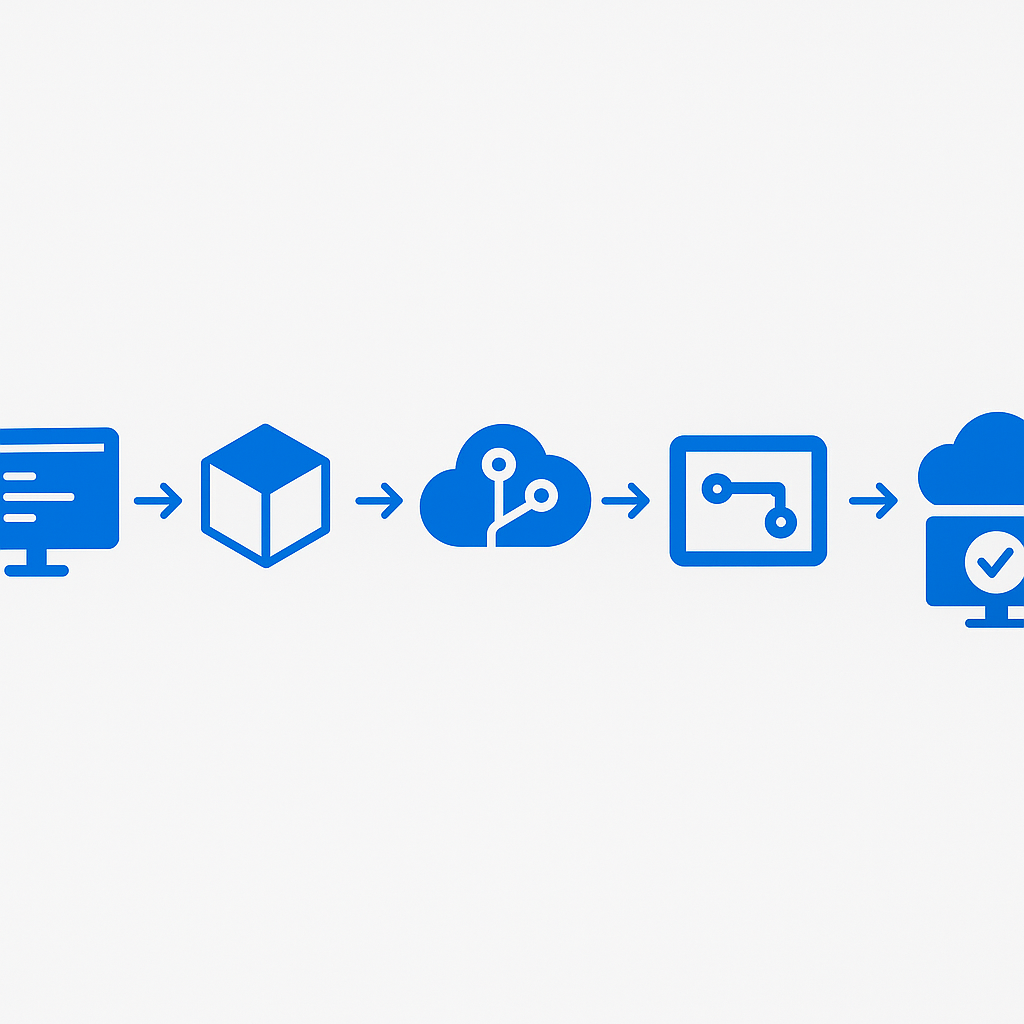
Solution Lifecycle
- Develop in a dedicated development environment
- Export the solution as managed
- Store solution files in source control (Azure DevOps or GitHub)
- Deploy using Power Platform Build Tools or GitHub Actions
- Test in a staging environment before production release
Power Platform Pipelines
Power Platform Pipelines (built into the platform) simplify ALM:
- Define environments in a pipeline (dev → test → prod)
- One-click deployment with automatic dependency resolution
- Deployment history and rollback capability
Source Control Integration
Export solutions as unpacked files for meaningful version control:
# Export and unpack solution
pac solution export --path ./solution.zip --name HRAutomation
pac solution unpack --zipfile ./solution.zip --folder ./src/HRAutomation
This creates individual files for each flow, connector, and component — enabling proper code review and diff tracking.
For ALM guidance, see Application lifecycle management for Power Platform.
AI Builder Integration
AI Builder brings pre-built and custom AI models directly into Power Automate flows.
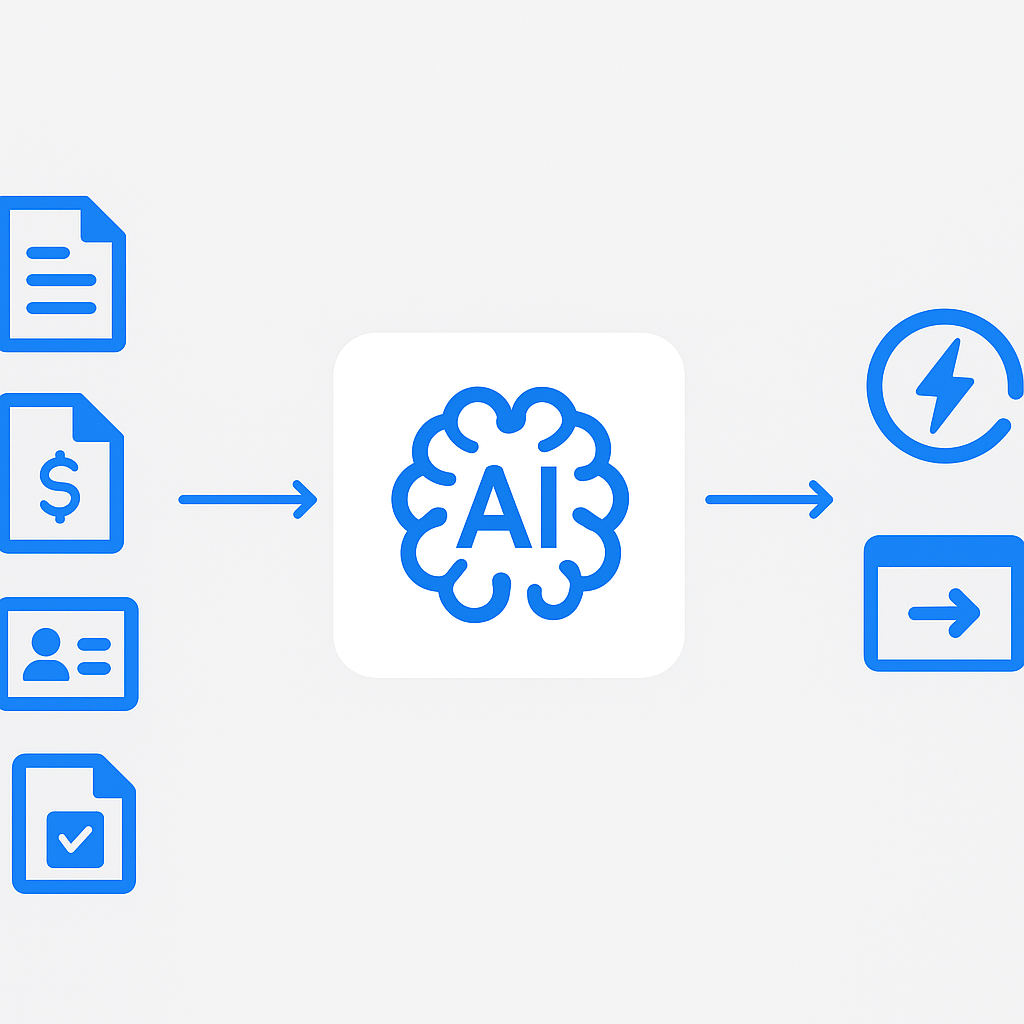
Document Processing
Automate document handling with AI Builder models:
- Invoice processing: Extract key fields from invoices automatically
- Receipt processing: Capture expense data from receipt images
- Custom document models: Train models on your specific document formats
- Identity document extraction: Process passports, driver's licenses, and ID cards
GPT Actions in Flows
Integrate generative AI directly into your workflows:
- Create text with GPT: Generate email responses, summaries, or reports
- Extract information: Pull structured data from unstructured text
- Classify content: Categorize incoming requests, emails, or documents
- Sentiment analysis: Assess customer feedback or support tickets
Example pattern: Incoming support email → GPT classifies urgency and category → Route to appropriate team → Generate draft response for agent review
For AI Builder capabilities, see AI Builder overview.
Governance and DLP Policies for Power Platform
As Power Automate adoption grows, governance becomes critical.
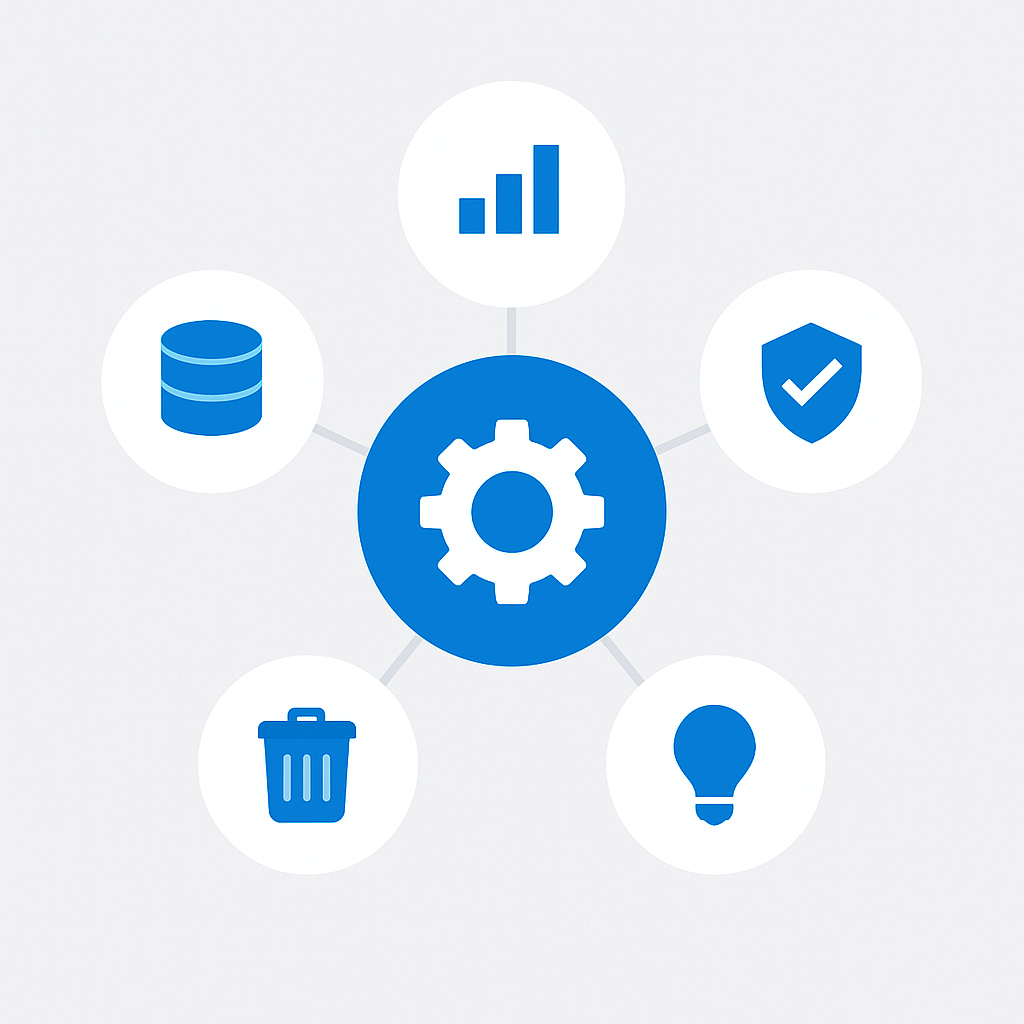
Center of Excellence (CoE) Toolkit
The CoE Toolkit is a free, Microsoft-supported set of tools for Power Platform governance:
- Inventory: Catalog all flows, apps, and connectors across the tenant
- Analytics: Usage metrics, adoption trends, and maker activity
- Compliance: Identify flows using blocked or high-risk connectors
- Cleanup: Detect orphaned flows and unused connections
- Nurture: Onboarding resources and community management
Install the CoE Toolkit from the CoE Starter Kit documentation.
Environment Strategy
Design your environment strategy for isolation and control:
- Default environment: Restrict to personal productivity only
- Developer environments: Individual sandboxes for makers
- Shared development: Team-based development environment
- Test/Staging: Pre-production validation
- Production: Managed solutions only, no direct editing
Maker Education and Enablement
Governance is not just about restricting — it is about enabling responsible development:
- Maker onboarding program: Require training before granting development access
- Pattern library: Provide tested templates for common scenarios
- Office hours: Regular sessions where experienced makers help newcomers
- Review process: Peer review for flows before production deployment
Monitoring and Analytics
Power Platform Admin Center
Monitor flow health and performance:
- Flow runs: Success/failure rates, run duration, trigger frequency
- Capacity consumption: API call usage, storage consumption
- Connector usage: Which connectors are most used, potential license implications
- Maker analytics: Who is building what, adoption trends
Application Insights Integration
For production-critical flows, integrate with Azure Application Insights:
- Custom logging from within flows using the HTTP connector
- Centralized monitoring across flows, Logic Apps, and other Azure services
- Alert rules for failure rates, latency thresholds, and error patterns
- Dashboards for business stakeholders
Proactive Monitoring Pattern
Build a monitoring meta-flow that:
- Queries the Power Automate Management connector for failed runs
- Aggregates failures by flow and error type
- Sends daily digest reports to flow owners
- Creates incidents in your ITSM tool for critical failures
- Tracks SLA compliance for business-critical workflows
For admin center analytics, see Power Platform analytics.
Putting It All Together
Advanced Power Automate development is about combining these patterns into robust, maintainable solutions. Start with solid error handling, invest in proper ALM practices, and build governance guardrails that enable rather than restrict.
The most successful Power Automate implementations I have seen share common traits: they treat flows as production software, they invest in maker enablement, and they design for maintainability from day one. The patterns in this guide provide the foundation for building automation solutions that your organization can rely on for years to come.
Frequently Asked Questions
What is the cleanest way to handle errors in a Power Automate flow?
Use scope-based try-catch-finally. Wrap the main logic in a Scope named "Try", add a "Catch" scope whose Run After is set to "has failed" and "has timed out", and read the error with result('Try')[0]['error']['message']. A third "Finally" scope set to run after every outcome handles cleanup. This keeps failure handling in one place instead of scattering Configure-run-after settings across every action.
When should I split logic into a child flow instead of one large flow?
Split when the same logic appears in more than one flow, or when a single flow grows past what one person can reason about in one sitting. Reusable concerns — error logging, notifications, data validation — belong in solution-aware child flows with explicit input/output parameters. Keep child flows in the same solution as their parents so they promote together through ALM.
How do I stop a flow from running when it should not?
Use trigger conditions. An expression such as @equals(triggerBody()?['Status'], 'Approved') is evaluated before the flow consumes a run, so it never starts for irrelevant changes. That is cheaper and cleaner than starting the flow and terminating early, and it protects your API limits on high-volume SharePoint or Dataverse triggers.
Do I need the CoE Toolkit to govern Power Automate?
Not on day one, but it pays off fast once you pass a handful of makers. The Center of Excellence Toolkit inventories every flow, app and connector, flags high-risk connector use, and surfaces orphaned flows. Pair it with DLP policies and a clear environment strategy — governance that enables responsible building rather than just blocking it.
For comprehensive Power Automate documentation, visit the Power Automate documentation hub and the Power Platform guidance documentation.